Key Safety Tips When Handling Electrical Short Circuits in Vehicles
Table Of Contents
Inspecting Wiring and Connections
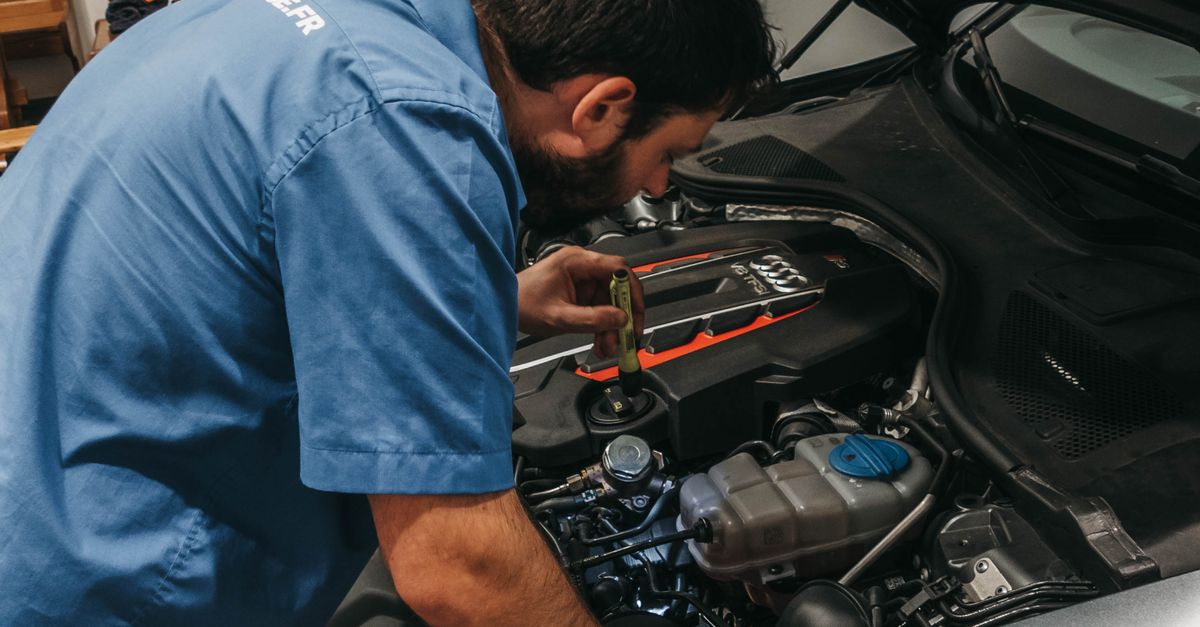
Regular inspection of wiring and connections plays a vital role in identifying potential issues before they become serious problems. When examining the wiring, look for signs of wear such as fraying, cracking, or exposed conductors. Ensure that all connections are secure and that there are no loose terminals, as these can lead to arcing or overheating. Pay attention to any signs of corrosion on terminals, as this can hinder the flow of electricity and contribute to future malfunction.
It is essential to approach this inspection methodically, working through each section of wiring while maintaining organisation and cleanliness in the workspace. Take note of any suspicious smells or heat emanating from specific areas, as these can indicate underlying short circuits. Additionally, use protective gear like gloves and goggles to ensure safety during the inspection process. Keeping a checklist of components and connections can help avoid missing crucial areas during your assessment.
How to Identify Damaged Components
Visual inspection is one of the first steps to uncovering damaged components in your vehicle's electrical system. Look for signs of fraying wires, melted insulation, or burn marks on connections. These indicators suggest that excessive heat or short circuits have taken their toll. Additionally, check for corrosion on terminals and connectors, as this can impede electrical flow and lead to further complications.
In addition to visual checks, pay attention to any unusual behaviour from electrical systems. If you notice flickering lights, intermittent power issues, or strange noises when components are engaged, this could signal underlying damage. Testing individual components with a multimeter can further pinpoint the issue. Regularly examining fuses is also essential; a blown fuse often indicates that something else in the circuit is malfunctioning, providing critical insight into the potential source of the short circuit.
Using a Multimeter for Diagnosis
A multimeter is an essential tool for diagnosing electrical issues, particularly when dealing with short circuits in vehicles. Understanding how to properly use this device can save both time and money. Start by setting the multimeter to the appropriate mode, depending on whether you want to measure voltage, current, or resistance. It's crucial to ensure all connections are secure and the vehicle is powered down before taking readings to avoid injury or damage to the device.
When checking for shorts, measure the resistance across the circuit in question. A low resistance reading often indicates a short circuit, while an infinite reading suggests the circuit is open. For voltage tests, power on the vehicle and monitor any potential drop across connections. Identifying discrepancies in expected readings can highlight failing components within the system, allowing for targeted repairs and improved vehicle reliability.
Testing Electrical Circuits Effectively
Effective testing of electrical circuits in vehicles begins with a clear understanding of circuit components and their functions. Start by carefully disconnecting the vehicle's battery to ensure safety while working on the electrical system. Identify the circuit you intend to test, and systematically check all connections and wiring for signs of wear or damage. A visual inspection alone may not reveal all issues, so using a multimeter for further analysis is essential.
When using a multimeter, set it to the appropriate function—typically, measuring voltage, resistance, or continuity. Begin by measuring the voltage at various points within the circuit to identify any discrepancies. If the reading deviates from the expected level, this may indicate a fault. For circuits suspected of being shorted, check for continuity between conductors. A continuous signal in a place where it should not exist serves as a clear indicator of a problematic connection.
Preventative Maintenance Practices
Regular checks of the vehicle's electrical system can significantly reduce the chances of encountering short circuits. Inspecting wiring for signs of wear and tear is crucial. Look for frayed wires, loose connections, and corrosion at terminals. A clean, well-organised battery area can help ensure optimal performance. Regularly tightening battery cables and ensuring a good ground connection also contributes to the longevity of electrical systems.
Scheduled maintenance should include testing all electrical components and replacing any outdated parts. Keeping connections free of moisture and dirt aids in preventing short circuits. Using protective covers can help shield vulnerable areas from potential damage. Implementing these practices not only enhances safety but also promotes the overall reliability of the vehicle's electrical systems.
Tips to Avoid Future Short Circuits
Maintaining a clean and dry environment within the vehicle is essential to prevent electrical issues. Regularly inspecting the vehicle's interior and ensuring that no moisture or debris accumulates around wiring and connections can significantly reduce the risk of short circuits. Additionally, checking for wear on rubber seals or weatherstripping helps to keep moisture from penetrating the electrical system.
Investing in high-quality components and wiring is crucial for long-term reliability. Using correct gauge wires and quality connectors designed for automotive applications can greatly minimise the chance of faults occurring. Routine checks and replacements of any worn or frayed parts will also go a long way in ensuring that the electrical system remains intact and functioning well. Keeping detailed logs of maintenance and repairs assists in identifying patterns that may lead to future issues.
FAQS
What should I do first if I suspect an electrical short circuit in my vehicle?
The first step is to turn off the vehicle and disconnect the battery to prevent further damage or injury. Once it's safe, you can begin inspecting wiring and connections.
How can I identify damaged components in my vehicle's electrical system?
Look for frayed wires, burnt insulation, or signs of overheating around electrical components. A visual inspection can often reveal obvious damage that needs to be addressed.
What is the purpose of using a multimeter in diagnosing electrical issues?
A multimeter helps measure voltage, current, and resistance in circuits, allowing you to pinpoint the location of faults, such as short circuits or open circuits in the electrical system.
How do I test electrical circuits effectively with a multimeter?
To test electrical circuits, set the multimeter to the appropriate setting (AC or DC voltage) and connect the probes to the circuit points. Check for expected voltage readings and continuity in the circuit.
What preventative maintenance practices can help avoid future short circuits in my vehicle?
Regularly inspect wiring for wear, keep connectors clean and free of corrosion, ensure all connections are secure, and consider professional inspections to catch issues before they become problematic.
Related Links
The Role of Fuses in Electrical Short Circuit PreventionThe Impact of Electrical Short Circuits on Vehicle Performance
Understanding the Cost of Repairing Electrical Short Circuits
Troubleshooting Electrical Short Circuits: A Step-by-Step Guide
Repairing Electrical Short Circuits: What to Expect
Common Causes of Electrical Short Circuits in Cars
Identifying the Signs of Electrical Short Circuits in Your Vehicle